Are you wondering how to get Netflix on Kodi in Canada? This guide answers every question about installing Netflix on Kodi, the step-by-step process of Kodi’s functioning, the problems attached, their fixes & much more.
The Netflix Kodi add-on allows users to access Netflix’s sizeable catalogue of entertainment content however installing it might not be as seamless as it looks. Using a third-party zip file and updated Kodi version you can enjoy Young Sheldon, The Angry Birds Movie 2, S.W.A.T., Sonic the Hedgehog 2, Big Mouth, Enola Holmes 2, Manifest, and more!
However, these add-ons such as Kodi can expose users to unnecessary & unwanted cyber threats. The solution to avoid it is always to use VPN while installing Netflix on Kodi in Canada.
It helps you protect your data and allows you to watch geo-restricted content. It also allows you to watch a different country’s Netflix catalogue for example you can watch American Netflix in Canada in the world with the help of a VPN. You can also get American Netflix on Firestick in Canada as well.
Therefore, for this purpose, ExpressVPN is the best choice as it provides security, exceedingly fast speed & most importantly, a wide bandwidth.
How to download Netflix on Kodi in Canada [Step-by-Step Guide]
The step-by-step guide on how to download Netflix on Kodi in Canada first starts with downloading a zip file from a third-party website. The process is relatively simple, except that you can get exposed to cyber threats; therefore, always use a robust & reliable VPN such as ExpressVPN. Along with Kodi, you can also get US Netflix on Playstation in Canada.
Here are the necessary steps to download Netflix on Kodi in Canada in 2022.;
- Get a strong VPN first, giving you ultra-strong security and a wide Network server bandwidth, making your access to Netflix far more seamless & easy.
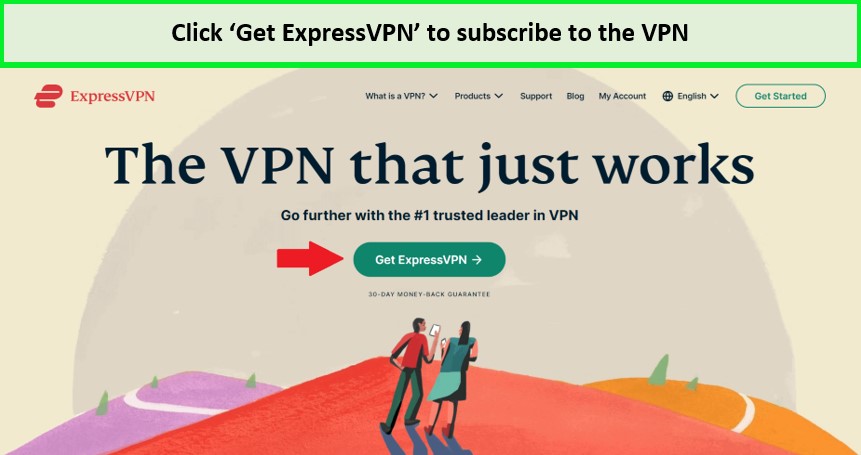
Subscribe to ExpressVPN.
- The next step is to install the most recent version of Kodi. You can do it by visiting the official Kodi website.
Download the latest version of Kodi.
- On the Kodi homepage, go to the top left & click on the gear option.
Click the gear icon.
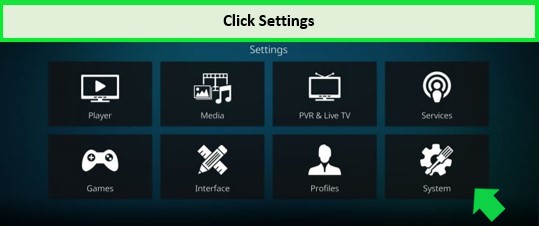
- Look for the system box at the lower right.
Click the Settings box
- From the given options on the screen, tap on addons & it will allow you to have add-ons from unknown sources.
- Then click on the system option & choose File manager from there on.
- You will see a URL tab; paste the ‘Repository Link’ you intend to access. It installs & updates the add-on.
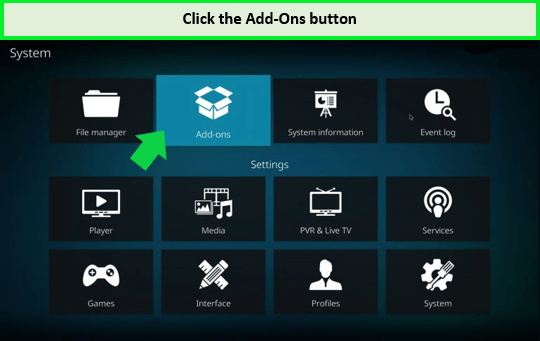
- Then step back to the System option & click on add-ons this time.
Click Add ons.
- Search for the Zip file you just created & click on it.
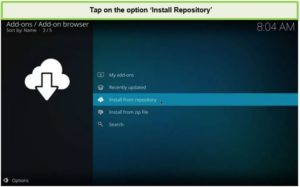
- You will see an option saying ‘Install Repository’; tap on it.
- Then locate the repository, followed by clicking on the ‘Video addons’ option.
- From the given options, tap on ‘Netflix’ & then hit ‘install.’
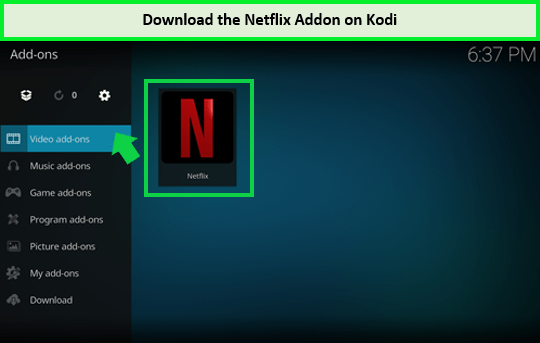
Download the Netflix addon.
- Now you can enjoy Netflix on Kodi in Canada easily!
Note: If you have Smart TV, do check out our detailed guide on how to get American Netflix on Smart TV.
Why is Netflix add-on Kodi not working [Quick Fixes]?
While using Kodi Netflix Add-on, you might come across the platform’s anti-bot features resulting in login problems. In such a case, you get unwanted & unnecessary issues on the platform while streaming, so here’s a complete guide on how you can tackle different unwarranted problems.
Here are a few errors and their solutions you can tackle when the Kodi Netflix addon is not working:
- Error Message: “Request Blacklisted by Exchange Service”
- Error Message: “Title not available to watch instantly”
- Error Message: “Incorrect Password”
Error Message: “Request Blacklisted by Exchange Service”
If you get the error message saying ‘Request Blacklisted by Exchange service’ & it might be because of false Widevine L1 certification. Therefore, you will have to use the Force Widevine Security Level method. Moreover, follow these steps;
- Launch the add-on settings & then open the ‘Expert’ option.
- Click on ‘ESN/Widevine Settings’ after surfing down.
- For a shortcut, click the ‘Reset Button’ followed by tapping on ‘Force L3.’
- Lastly, click on the ‘apply changes’ option.
Remember to keep your ID fixed.
Error Message: “Title not available to watch instantly”
You will again have to use the ‘Force Widevine Security Level’ method to tackle such error messages. Here’s how you can do it;
- Launch the add-on option & look for the ‘expert’ option.
- Surf down the screen & select ‘ESN/Widevine settings’.
- Press the ‘Reset Button’ & then click on ‘Force L3.’
There you go, select the ‘Apply Changes Now’ option in the end & you have successfully tackled the troubleshooting.
Error Message: “Incorrect Password”
If you get an ‘Incorrect Password’ message, instantly use the ‘Authentication Key’ method, regardless of entering the correct details. Here’s how you can do it:
- Run a shell script on your computer/windows, which will eventually open a browser.
- The browser will ask you to enter your Netflix login details to capture the authentication key and a PIN.
- That’s it. All you have to do is general a file with the 4-digit PIN to get into Netflix. Remember to have an addon on Netflix.
To download the script, go through Addon wiki’s GitHub guide. If you own an Xbox, then you can also get American Netflix on Xbox as well.
FAQs
Is installing Netflix on Kodi legal & safe in Canada?
How can I watch Netflix on Kodi for free in Canada?
Is the Netflix Kodi Addon Legal?
Wrapping Up!
Gear up! Heard you have been wanting to know about installing Netflix on Kodi Look no further. This guide helps you to know how to install Netflix on Kodi in Canada and you also get to know about streaming errors, the installation process, and related queries.
It offers a wide variety of content that is different for each country it streams in. Along with Kodi, the platform is compatible with multiple devices. Like, you can easily get American Netflix on Mac and other devices such as Smart TVs, Xbox, Firestick and PlayStation.
